


The market is full of "custom die casting services," but what does that really mean? How do you separate a top-tier partner from a low-bidder who will deliver a crate full of porous, out-of-spec parts?
I decided to write this definitive guide from my perspective as a manufacturing professional. I'm not here to sell you on one specific service. I’m here to give you the expert knowledge I've gained over the years. I will walk you through the entire process, from the two main types of machines to the critical design-for-manufacturability (DFM) rules that I believe are non-negotiable.
If you’re an engineer, a product designer, or a purchasing manager, this post is for you. My goal is to equip you with the knowledge to speak the language, ask the right questions, and make informed decisions that lead to high-quality die-cast parts, every single time.
What Exactly Is Die Casting? A High-Speed, High-Pressure Process
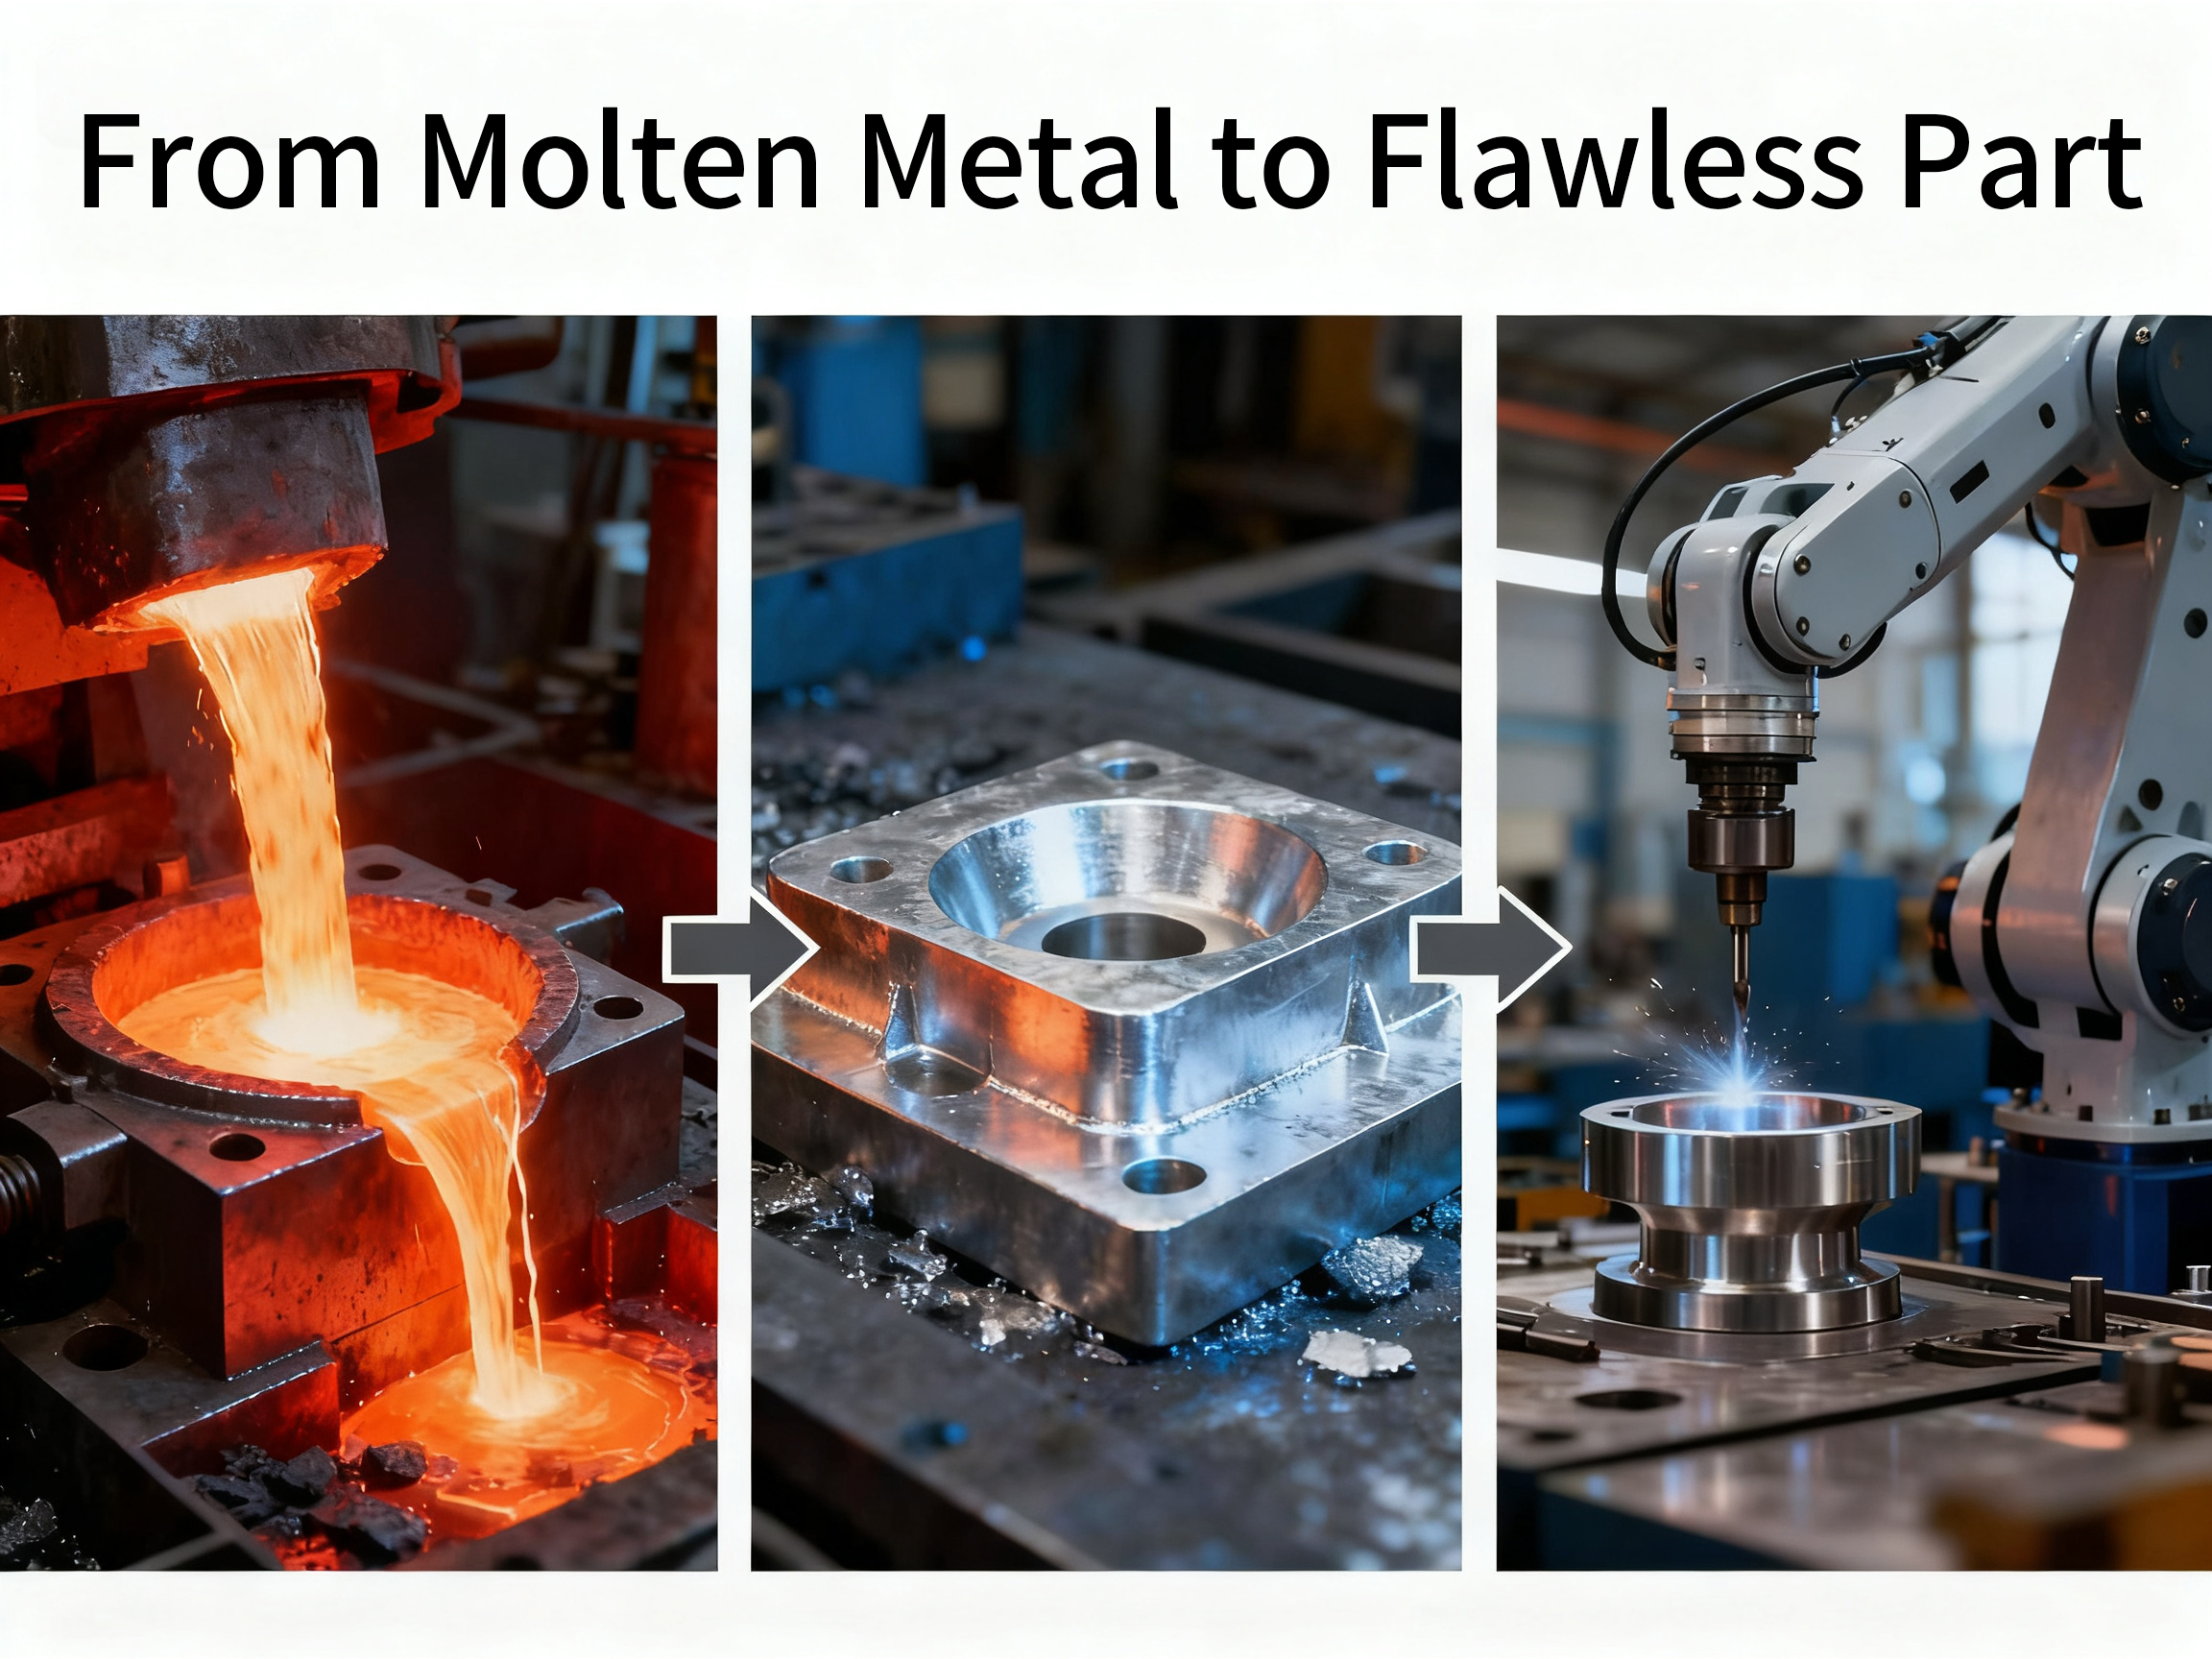
At its core, die casting is a manufacturing process that produces geometrically complex metal parts by forcing molten metal into a reusable mold (called a "die") under extremely high pressure.
Think of it as the industrial, high-temperature big brother to plastic injection molding.
While a process like sand casting (which I'll touch on later) relies on gravity to fill a mold, die casting uses intense pressure—anywhere from 1,500 to over 25,000 psi. This pressure is the magic ingredient.
Why does it matter?
-
It captures fine details: The high pressure forces the liquid metal into every tiny crevice of the die, resulting in a net-shape (or near-net-shape) part. This means it can replicate complex geometries, textures, and lettering with incredible precision, minimizing or even eliminating the need for secondary machining.
-
It creates a great surface finish: The rapid filling and solidification against a smooth, hardened steel die produces an excellent surface finish, far smoother than sand casting.
-
It ensures high-volume repeatability: The die, made of hardened tool steel, can last for hundreds of thousands of "shots" (cycles) before it needs refurbishment. This makes the cost-per-part plummet at high volumes.
The 5-Step Die Casting Cycle
I find it's easiest to understand the process by breaking it down into its core steps. A complete cycle can be incredibly fast—for a small part, it might take only a few seconds.
-
Clamping: First, a powerful hydraulic system clamps the two halves of the steel die shut. This clamping force must be immense to resist the injection pressure that's about to come.
-
Injection: The machine injects a precisely measured amount of molten metal (a "shot") into the die cavity at high speed and pressure. This filling phase is often over in just milliseconds.
-
Cooling: Once the cavity is full, the molten metal begins to cool and solidify as it touches the (relatively) cooler walls of the die. The die often has internal water or oil channels to precisely control this cooling process.
-
Ejection: After the part has solidified, the machine opens the die halves. A series of ejector pins on one half of the die pushes the solidified part (now called a "casting") out of the cavity.
-
Trimming: The final casting isn't just the part itself. It's attached to a "tree" of other metal, which includes runners (channels the metal flowed through), gates (the opening into the part), and flash (tiny amounts of metal that may have squeezed between the die halves). The machine or a secondary process (like a trim press or CNC) removes this excess material to free the final part.
Then, the cycle repeats. And repeats. And repeats. Tens of thousands of times a day.
The Two Families: Hot-Chamber vs. Cold-Chamber Die Casting
This is the first and most important technical distinction you must understand. The type of machine used dictates which metals you can cast, the speed of the process, and the cost. When I evaluate a potential die casting partner, one of the first things I ask about is their machine inventory.
1. Hot-Chamber Die Casting (The Speed Demon)
In a hot-chamber machine, the injection mechanism is submerged directly in the pot of molten metal. The "gooseneck" (a feeding tube) draws metal straight into the chamber for injection.
-
My Analogy: Imagine having a soup ladle permanently built into the bottom of your soup pot, ready to inject soup at a moment's notice.
Metals Used: This process is only for metals with low melting points and that are not corrosive to the machine's components. The main players are:
-
Zinc (e.g., Zamak alloys)
-
Magnesium (some alloys)
-
Lead and Tin (less common in modern products)
You cannot use aluminum in a hot-chamber machine. Molten aluminum would quickly dissolve the steel components of the injection system.
Advantages:
-
Insanely Fast Cycles: Because the metal is right there, ready to go, I've seen these machines run at blazing speeds.
-
Better Process Control: The metal is at a consistent temperature in the crucible, leading to less thermal variation.
-
Reduced Metal Handling: No one is ladling metal from one pot to another, which means less oxidation and fewer impurities.
Limitations:
-
Strictly limited to low-melting-point alloys.
When I Recommend It: For high-volume production of smaller, detailed parts. Think cabinet hardware, zippers, intricate automotive interior components, or electrical connector housings. If you need 500,000 parts with a beautiful finish, I'd look to zinc hot-chamber casting.
2. Cold-Chamber Die Casting (The Powerhouse)
In a cold-chamber machine, the melting pot is completely separate from the machine. For each shot, a hydraulic ladle or-in some cases, a person-transfers a precise amount of molten metal from the furnace into the machine's "shot sleeve." A hydraulic plunger then forces this metal into the die.
-
My Analogy: This is like scooping a precise amount of soup from the pot, walking it over to the "injector," and pouring it in for each cycle.
Metals Used: This process is designed for metals with high melting points.
-
Aluminum (by far the most common)
-
Magnesium (many alloys)
-
Brass and Copper
Advantages:
-
Handles High-Temp Alloys: This is the only way to cast aluminum, which is the workhorse of the die casting industry.
-
Creates Strong, Structural Parts: The alloys used (especially aluminum) offer fantastic strength, rigidity, and heat resistance.
Limitations:
-
Slower Cycle Times: The extra step of ladling the metal adds time to the cycle compared to the hot-T-chamber process.
-
More Thermal Variation: The metal loses a bit of heat during its transfer from the furnace to the sleeve, which requires more sophisticated process control to manage.
When I Recommend It: This is the default for most structural parts. If you're making an engine block, a transmission housing, a power tool chassis, or a sturdy electronics enclosure, I would specify cold-chamber die casting 99% of the time.
The Die: Why Your Tooling Is 90% of the Battle
As a CNC machinist, I live and breathe "tooling." In my world, that means end mills, drills, and fixtures. In die casting, the "tool" is the die itself, and it is everything.
I cannot overstate this: Your part quality is a direct reflection of your die's quality.
A die is not just a simple two-part mold. It's a complex, precisely engineered machine in its own right, made from massive blocks of high-grade tool steel (like H13) that have been machined, heat-treated, and polished.
A "custom die casting service" is, first and foremost, a "custom die design and fabrication service." Here’s what's inside that block of steel:
-
A-Half (Cover Half) & B-Half (Ejector Half): The two main parts of the die that meet at the parting line.
-
Cavities: The (often polished) negative space that your part's shape. A die can have a single cavity or multiple identical (or even different) cavities.
-
Runners & Gates: These are the channels I mentioned earlier, engineered with extreme precision. The way a runner is shaped controls how the metal flows, and the gate (where it enters the cavity) is critical for preventing defects. I've seen engineers spend weeks on fluid-flow simulations just to perfect the gate location.
-
Cores, Slides & Lifters: These are the "secret weapons" for complex parts. If your part has a hole or an undercut (a feature that would prevent it from being pulled straight out), the die needs moving "slides" or "cores" that are hydraulically or mechanically inserted to form the feature, then retracted before ejection. This is where the "custom" engineering really shines.
-
Ejector Pins: These are the pins that push your part out. Their placement is critical. Poorly placed pins can warp the part or leave noticeable marks.
-
Vents: These are hair-thin channels (around 0.005 inches) cut into the parting line. They are small enough to let trapped air and gas escape the cavity as the metal rushes in, but too small for the molten metal to flow through. Without proper venting, you get porosity, which is the number one enemy of high-quality casting.
-
Cooling Channels: A network of passages inside the die for water or oil to flow. This allows the die's temperature to be precisely controlled, which is essential for managing cycle time and preventing defects.
When a supplier gives you a quote for a die casting project, the single biggest line item will be the tooling. It can cost anywhere from $10,000 to $500,000 or more, depending on the part's size, complexity, and the number of cavities.
My advice: Do not skimp on tooling. I have seen teams choose a supplier based on a 10% cheaper tooling quote, only to spend six months and twice that amount trying to fix the defective parts that the cheap tool produced. A high-quality die, designed by experienced engineers, will pay for itself many times over in reduced scrap, faster cycles, and longer tool life.
A Material-First Approach: Choosing Your Alloy Wisely
The choice of metal is just as important as the process. A good partner will act as a consultant, asking you detailed questions about your part's application before they recommend an alloy.
From my experience, these are the "big three" you'll encounter most often:
1. Aluminum Alloys (The Workhorse)
When people talk about die casting, they are most often talking about casting aluminum. It hits the sweet spot of cost, performance, and weight.
-
Popular Alloys: A380 is the most common alloy I see. It offers a great blend of castability, mechanical properties, and thermal conductivity. A360 is another, offering superior corrosion resistance, and A413 has excellent fluidity for thin-walled parts.
-
Key Properties:
-
Excellent strength-to-weight ratio.
-
High-temperature resistance.
-
Good corrosion resistance.
-
Great electrical and thermal conductivity.
-
-
Common Applications: Engine components, automotive housings (transmission, oil pans), electronics enclosures, power tool bodies, lighting fixtures.
-
My Take: I usually start my design process assuming A380 aluminum unless I have a very specific reason not to. It's the reliable default.
2. Zinc Alloys (The Detail King)
I have a real soft spot for zinc. Because it's cast in a hot-chamber process and is incredibly fluid, it can achieve part complexity that aluminum can't touch.
-
Popular Alloys: Zamak 3 is the most popular zinc alloy in North America. It's stable, easy to cast, and has an incredible "as-cast" surface finish. Zamak 5 is a bit harder and stronger.
-
Key Properties:
-
Amazing fluidity for casting extremely thin walls and fine details.
-
Superior "as-cast" surface finish. This is a huge deal. It's often "Class A" right out of the mold, perfect for plating or painting.
-
High ductility and impact strength (it's "tougher" than aluminum in many ways).
-
Lower melting point means much, much longer die life (often over 1 million shots).
-
-
Common Applications: Decorative hardware (handles, faucets), automotive interior parts, complex electronics connectors, components in locks or mechanisms.
-
My Take: If your part needs to look beautiful, requires high detail, or needs to be plated with chrome, I would strongly push you toward zinc. The tooling lasts forever, and the part quality is stunning.
3. Magnesium Alloys (The Lightweight Champion)
When every single gram matters, I turn to magnesium. It's the lightest of all commonly used structural metals.
-
Popular Alloys: AZ91D is the most common die-cast magnesium alloy. It has a great combination of strength and castability.
-
Key Properties:
-
The lightest structural metal (33% lighter than aluminum, 75% lighter than steel).
-
Excellent EMI/RFI shielding. This is a massive advantage for electronics.
-
Good strength-to-weight ratio.
-
Can be cast with very thin walls.
-
-
Common Applications: Laptop and tablet bodies, camera cases, power tool housings, automotive steering wheel cores, and brackets where weight savings is critical.
-
My Take: Magnesium is a specialty material. It's more expensive and can be trickier to work with (it's flammable under certain conditions, so it requires special handling). But if you're designing a high-end portable electronic device, the weight savings and built-in EMI shielding are benefits I find impossible to ignore.
My DFM Cheat Sheet: How to Design for Die Casting
This is where my expertise as a machinist and designer really comes into play. You cannot just take a part I designed for CNC machining and send it to a die caster. It will fail. You must design the part for the die casting process.
This is called Design for Manufacturability (DFM), and for me, it's non-negotiable. Here are the core rules I follow:
1. Draft Angles are Not Optional
-
What it is: A slight taper (an angle) on all vertical walls of your part, parallel to the direction the die opens.
-
Why: As the metal part cools, it shrinks and grips the die. Without a draft angle, the ejector pins would have to push with enormous force, potentially damaging or warping the part. The draft angle helps the part release cleanly, like a tapered ice cube from an ice tray.
-
My Rule of Thumb: I start with 1-2 degrees of draft on all surfaces. For inner walls or textured surfaces, I may go as high as 3-5 degrees. A good supplier will confirm this with you. If they don't mention draft, I get worried.
2. Aim for Uniform Wall Thickness
-
What it is: Keeping all the walls of your part as close to the same thickness as possible.
-
Why: If you have a thick section joined to a thin section, the thin section will cool and solidify first. The thick section will cool last, and as it does, it will shrink and pull material away from the already-solid areas. This creates shrinkage porosity (voids) or sinks (divots) on the surface.
-
My Rule of Thumb: I design for the thinnest possible functional wall thickness and keep it consistent. If I need strength, I add ribs, not bulk.
3. No Sharp Internal Corners
-
What it is: Using fillets (rounded inner corners) and radii (rounded outer corners) instead of sharp 90-degree angles.
-
Why: Molten metal hates flowing into sharp corners. It creates turbulence, which traps air (causing porosity). Sharp internal corners also create massive stress concentrations in the final part, making it prone to cracking.
-
My Rule of Thumb: I add generous fillets to all inside corners. This strengthens the part and helps the metal flow smoothly, which is a classic win-win.
4. Avoid Undercuts (If You Can)
-
What it is: A feature (like a side-hole or a latch) that is not in the "line of pull" and would prevent the part from being ejected.
-
Why: As I mentioned in the tooling section, undercuts are possible, but they require complex, moving slides or cores in the die. Slides add significant cost, complexity, and potential failure points to your tool.
-
My Rule ofThumb: I will spend hours redesigning a part to "design out" an undercut. Can I achieve the same function with a rib? Can I use a "through-hole" and a secondary-op (like tapping)? If I absolutely must have it, I accept that my tooling cost just went up.
5. Add Ribs for Strength, Not Mass
-
What it is: Adding thin, rib-like structures to flat surfaces to increase stiffness.
-
Why: Instead of making a 10mm thick, heavy baseplate, I can design a 3mm baseplate with a 3mm-thick grid of ribs. The resulting part is lighter, cheaper (uses less material), and stronger and stiffer than the thick, flat plate. It also cools more uniformly.
-
My Rule of Thumb: I design ribs to be ~50-80% of the nominal wall thickness to prevent sink marks on the opposite side.
The Enemy List: Common Defects and How I Prevent Them
A "high-quality" part is, by definition, a part that is free of defects. When I audit a casting supplier, I don't just look at their good parts—I ask to see their scrap bin. It tells me everything I need to know about their process control.
Here are the defects that I look for:
-
Porosity: This is the big one. It refers to tiny bubbles or voids inside the casting.
-
What causes it: Trapped air from turbulent metal flow (bad gate/runner design), poor venting, or shrinkage from non-uniform wall thickness.
-
How I prevent it: This is 100% a DFM and tooling issue. I insist on uniform walls, generous fillets, and I ask the supplier to provide a mold-flow simulation showing how they plan to gate and vent the part. For critical parts, vacuum die casting (where a vacuum sucks the air out of the die before injection) is an excellent solution.
-
-
Flash: A thin, wafer-like sheet of metal that squeezes out of the die at the parting line.
-
What causes it: Worn-out tooling, insufficient clamp force, or excessive injection pressure.
-
How I prevent it: This is a process control and maintenance issue. It means the supplier is either pushing their machine too hard or not maintaining their expensive dies.
-
-
Short Fills (or Misruns): The part is incomplete because the molten metal solidified before it could fill the entire cavity.
-
What causes it: Low metal temperature, low injection pressure, or a part design with walls that are too thin.
-
How I prevent it: This is a collaboration. I make sure my DFM is sound (no "paper-thin" walls), and the supplier ensures their process parameters (temperature, pressure) are dialed in.
-
-
Ejector Pin Marks: Visible marks or divots on the part's surface where the ejector pins pushed it out.
-
What causes it: High ejection force (often due to lack of draft), or ejecting the part when it's still too hot and soft.
-
How I prevent it: DFM! This is a classic symptom of insufficient draft angles.
-
My Final Verdict: Die Casting vs. Other Processes
As a CNC expert, I'm constantly asked, "Should I die-cast this or CNC machine it?" The answer depends entirely on volume.
-
Die Casting vs. CNC Machining:
-
Die Casting: Very high tooling cost ($$), but an extremely low part cost (¢). The process is fast, but lead time for the tool is long (weeks or months).
-
CNC Machining: Very low setup cost ($), but a high, consistent part cost ($). The process is slower per-part but can be started almost immediately.
-
My Advice: I always tell my clients to prototype with CNC, and scale to production with die casting. I use CNC machining to make the first 1, 10, or even 1,000 "production-intent" parts. This lets me test the design, find flaws, and iterate quickly. Once I have locked the design, then I pay the high tooling cost for a die, confident that I won't need to change it. Your break-even point is often somewhere between 5,000 and 15,000 parts.
-
-
Die Casting vs. Sand Casting:
-
This is an easy one. I use sand casting for very large, non-precision parts (like a classic engine block or a fire hydrant) in low volumes. I use die casting for high-volume, high-precision, smooth-finished parts. They rarely compete.
-
-
Die Casting vs. Investment Casting:
-
This is a tougher comparison. Investment casting (or "lost-wax" casting) can also produce complex, high-precision parts.
-
The key difference? Investment casting can use any metal, including steel and stainless steel, which die casting cannot. However, the process is much slower and more manual, making the part cost higher.
-
My Advice: If your part must be stainless steel, I look to investment casting. If it can be aluminum or zinc, I choose die casting for the speed and lower part cost at high volumes.
-
My Conclusion: Quality Is a Choice, Not an Accident
Die casting is a phenomenal manufacturing process. It's the engine behind so many of the products we use every day, from our cars to our computers.
But as I hope I've made clear, "high-quality" die casting doesn't just happen. It's the end result of a dozen correct decisions made long before the "start" button is ever pressed.
It's the choice of the right process—hot or cold chamber. It's the choice of the right material—aluminum, zinc, or magnesium. It's the investment in a high-quality, intelligently designed steel die. And most importantly, it's the rigorous application of DFM principles: adding draft, uniforming walls, and eliminating sharp corners.
When I look for a "custom die casting service," I'm not looking for a simple vendor. I'm looking for an engineering partner who understands these principles as well as I do.
I hope this guide has given you the confidence and the vocabulary to be that expert partner in your next project.
What are your experiences with die casting? Have you ever been saved (or burned) by a tooling design? I'd love to hear your stories and questions in the comments below.